Hydration is KeyAt BottlePro, our motto is Health Through Hydration. One major health risk that can be avoided through proper planning is to have enough water for your hike. We've lived in the desert in Utah and western Colorado for 10 years, we've done A LOT of hikes in these areas where planning water needs is absolutely critical. We learned early on how essential it is to bring more water than you think you might need. In this video, we talk through how much water you should bring on a hike, including best practices and recommendations so you can adventure safely. And one major recommendation that we didn't specifically say in the video is to time your hike properly. If it's July and you're in the hot desert, you might want to start hiking before sunrise and finish by noon. We indirectly covered this in the video when talking about taking temperatures into account, but we wish we had made this recommendation more explicitly in the video. You wouldn't believe the number of hikers we've seen around here start long trails in the middle of the summer heat with just a small disposable water bottle! Video TranscriptHiking is a great activity both for your physical and mental health, but if not planned properly, hiking can be dangerous. Every year, there are stories about people who have close calls or even die while hiking due to dehydration or hyperthermia, aka an overheated body. Most incidents involve people who are hiking a new trail and may be unfamiliar with the area and the climate. This is especially true with tourists in desert areas like in Arizona, California, Utah, New Mexico, and Colorado, but it can happen to anyone, anywhere. Here we’ll review best practices and guidelines to help you stay properly hydrated on your next hiking adventure. Have a Hydro Flask or other large bottle?Check out our Amazon store for fun and helpful accessories, like fruit infusers, cup holder adapters, and carrying slings.
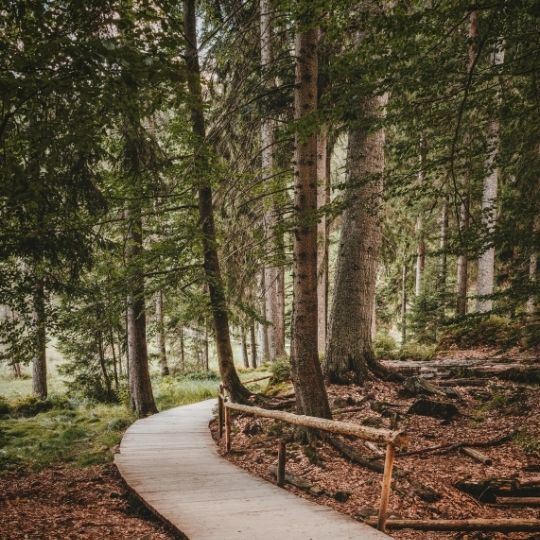
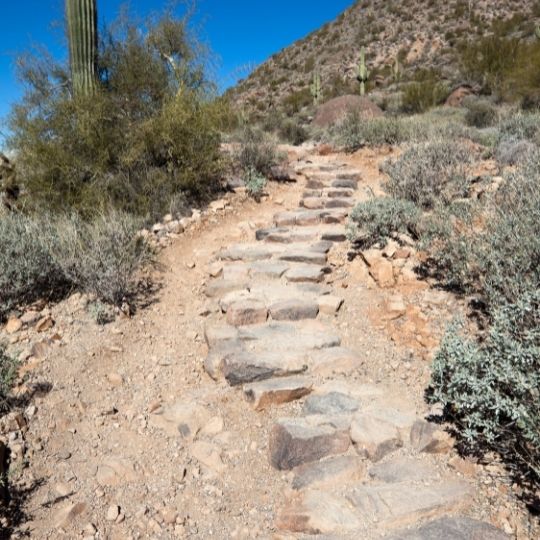
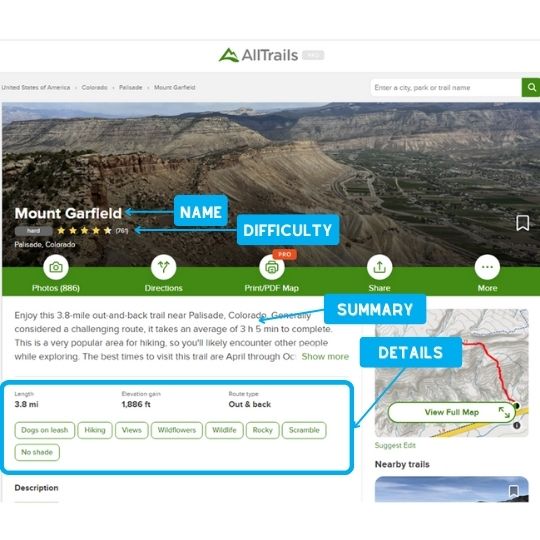
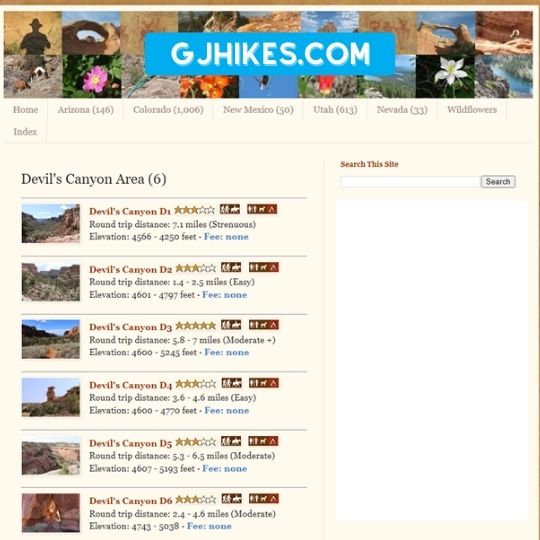
Step 1: Research Your RouteThe first rule of hiking is to plan ahead and know how long you’ll be gone. There’s a big difference between a 3 mile flat hike in the forest and a 3 mile hike with 2000’ of elevation gain and no shade in the desert. Always look up the trail details from a site like:
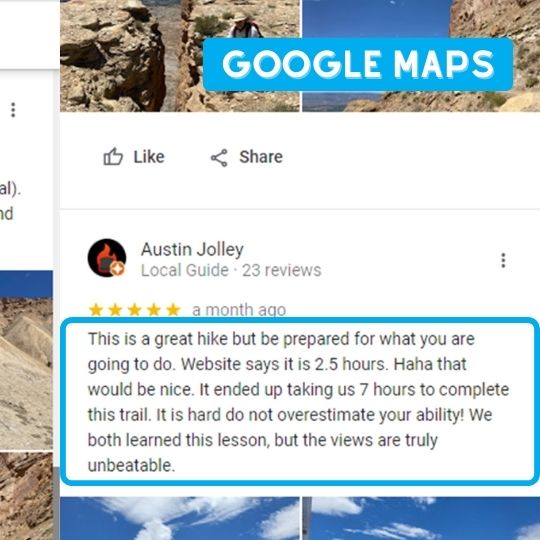
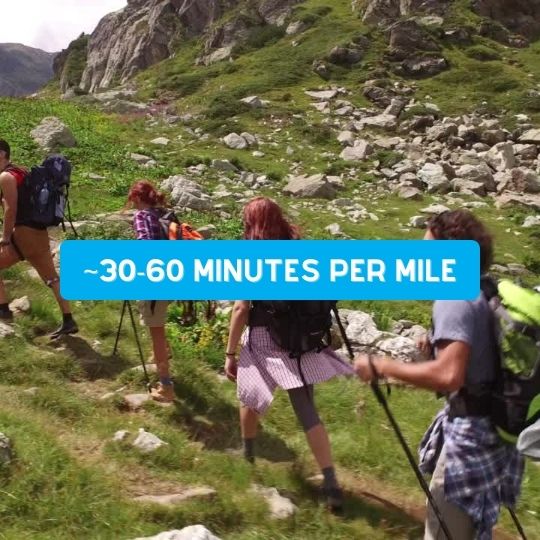
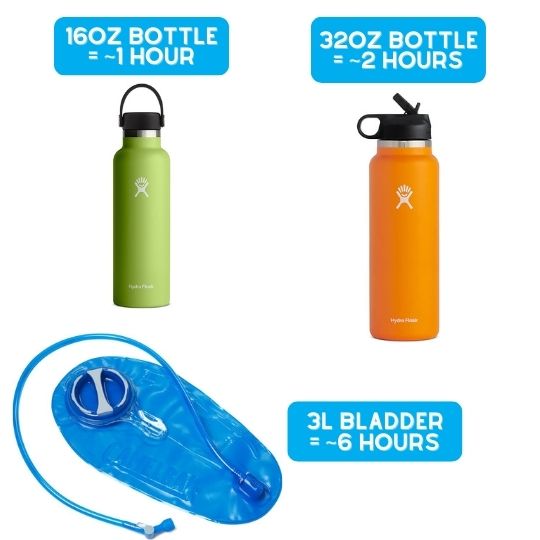
(Click on an image below to link that site's Mt Garfield hike entry as an example.) Step 2: Estimate How Long You'll Be HikingIn general, it takes most people between 30 and 60 minutes to hike 1 mile. That’s a pretty big range, and your rate depends on a variety of factors including your own personal fitness, the elevation gain, the terrain (like if it’s sandy or involves scrambling), and the weather. And if you have children in your group or if you like to stop to take a lot of pictures, it will almost certainly take longer. Again, Alltrails.com is a great resource you can use to estimate the hiking time, and it’s based on results from other hikers so it takes factors like elevation gain and terrain into account. But it may still be a good idea to plan on needing more time if you’re not in the best shape or if you’re hiking a new trail. Step 3: Estimate How Much Water You’ll Need According to REI, a good rule-of-thumb is to have roughly 17 ounces (a half-liter) of water for each hour of moderate activity in moderate temperatures. Adjustments You’ll have to use your own judgement on how to adjust that number based on factors for each hike, like your familiarity with the hike, your fitness level and health, your age, the temperature and humidity, and the elevation gain and terrain. If you’re new to hiking or are trying a new route, we recommend doubling the rule-of-thumb and bringing 34 ounces, or roughly 1 liter, per hour that you expect to be hiking, especially if temperatures will be over 80 degrees Fahrenheit. Once you get through these steps, you should have a good idea on how much water you should bring on your next adventure. Check out our next video to see our recommendations on the best water bottles and bladders to bring on hikes. Want to take your favorite bottle to the next level?Check out our Amazon store for fun and helpful accessories, like fruit infusers, cup holder adapters, and carrying slings.
2 Comments
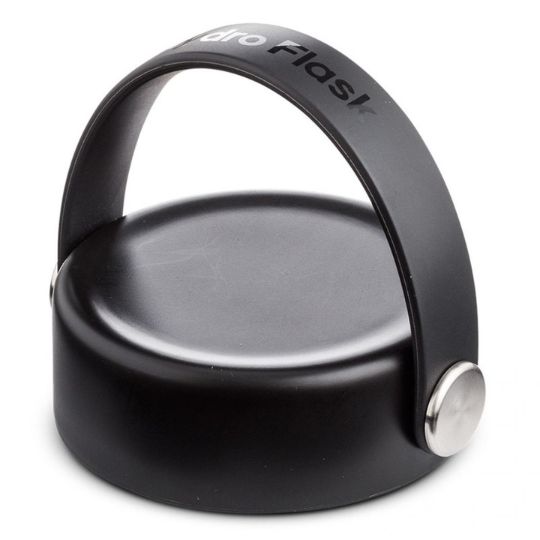
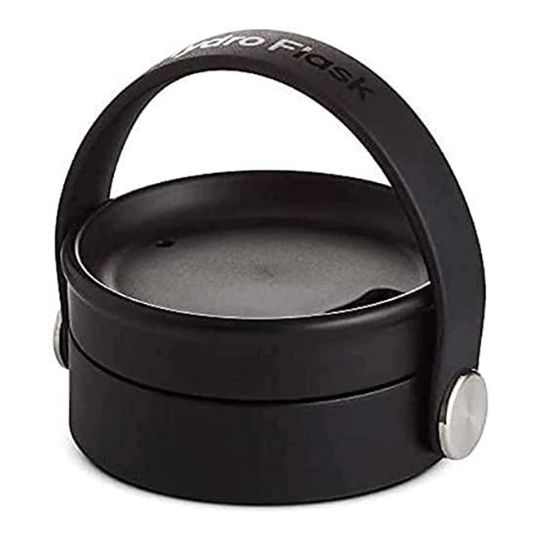
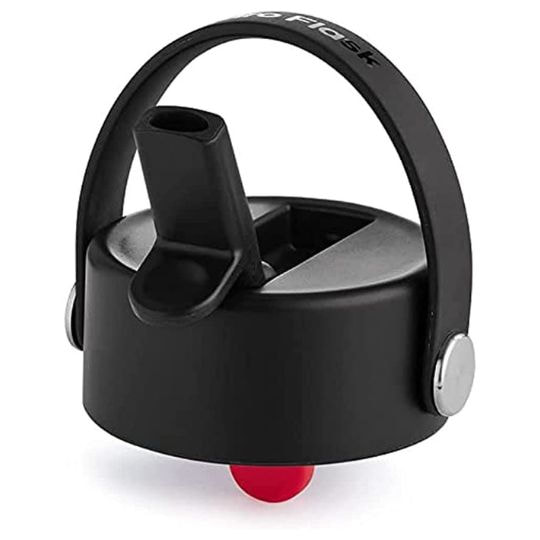
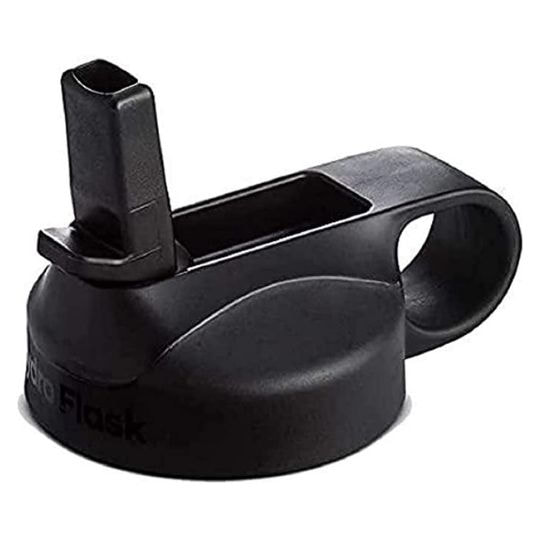
Which Hydro Flask Lid Should You Get?Congrats, you have a Hydro Flask (or are thinking about getting one soon)! It's hard enough deciding which Hydro Flask bottle to get, but have you also thought about which lid you'll use? Hydro Flask has four (4) lids available right now on Amazon: Flex Cap, Flex Sip, Flex Straw, and Straw Lid. In this video, we go over how each one works, what we like and don't like about each design, and how we use them. If you'd rather read through the review than watch the video, see the written summary below. SummaryHydro Flask has four lid options, and you might be asking which lid is best for you. We've reviewed and tested each lid extensively, and here's what we think. Links are in the description. Which one is best for you? Well, it depends on how you want to use it, but we can tell you how we like to use them.
Flex Cap
Make It Even Better with a SplashPro Splash Guard Flex Sip
Make It Even Better with a FlavorFuze Steel Flex Straw
Make It Even Better with a FlavorFuze Straw Infuser Straw Lid (Original Design)
Also works with a FlavorFuze Straw Infuser Want to take your Hydro Flask to the next level?Check out our Amazon store for fun and helpful accessories, like fruit infusers, cup holder adapters, and carrying slings.
|
Follow us for more hydration-focused updates!
Try searching for things like "infusers" or "Hydro Flask".
Categories
All
Archives
June 2024
Amazon Associates ProgramBottlePro is part of the Amazon Services LLC Associates Program. We strive to provide helpful information and product recommendations, and we receive a commission on purchases made after you click through our links.
|
PS Kreative, LLC, Licensed in North Carolina, USA (ID # 2514262), DBA "BottlePro"

